Showing posts with label Techniques. Show all posts

Wednesday, November 2, 2011

Technique: Fussy Cutting

Ever heard the term Fussy Cutting and wondered what it meant? Fussy Cutting refers to cutting out a specific image from patterned paper and using it as a seperate focus. Ready to see Fussy Cutting in action? The November Petite Kit has a gorgeous leaf paper you can see ont he bottom of this layout:

After I cut the paper in half to use on this layout, I still had a half sheet left which I fussy cut several different leaves from for this card:
Fussy Cutting is a great technique to use when you've purchased paper you love but don't have any coordinating embelishments. By cutting out specific images you create your own accents.
Thursday, October 8, 2009

Photoshop Color Image Change Tutorial

Tutorial by Courtney - Scrapbook Heaven DT

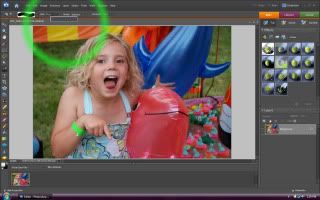
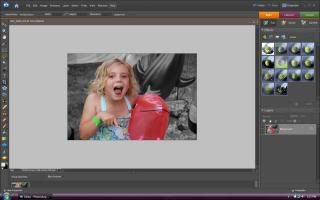
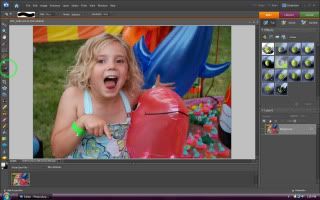
In this tutorial I will teach you step by step how to keep part of your photo colored while turning the rest of it black and white. This technique is perfect for bringing attention to a certain part of a photo or for making a photo appear less busy.I have used photoshop elements 6 but most of the steps are basics for most software.First of all open your desired image.Ive chosen a picture of my daughter at a fair and there were just WAY too many things going on in the background!

Then on the left hand column click on the "Brush Selection Tool"

Next raise the pixel size of your "Brush Selection Tool" up on the top column

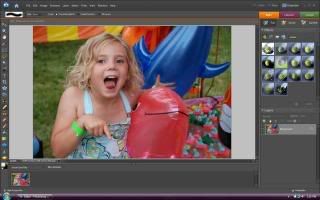
Select most of your background or most of what you want to turn black and white. Everything selected will have a dotted outline. Hard to see in this snapshot.


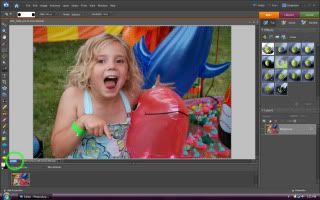
Next you want to zoom your image so that you can get all of the small details with your "Brush Selection Tool" by clicking in the lower left hand corner and highlighting the percentage viewed and raise that value.

Select all the background close to the image you want to keep colored. You can also reduce the pixel size to get really close if you like.


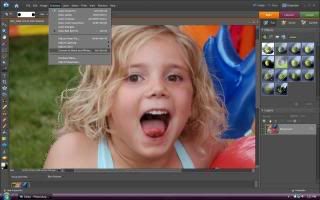
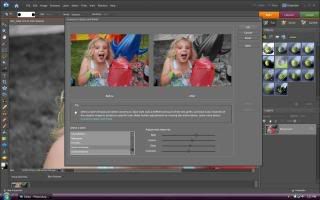
Next is the fun part! Go up to the top column click on the "Enhance" tab move down the list to "Convert Black and White"


A new window will pop up showing you a preview, go ahead and click ok.

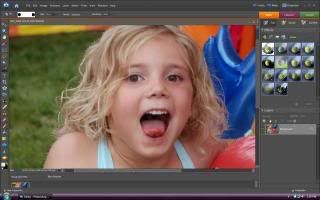
Zoom back out and you have your finished result!


This technique is so simple to achieve that I use it over and over again for so many different things!!!!

Thursday, September 3, 2009

THICKERS Tutorial

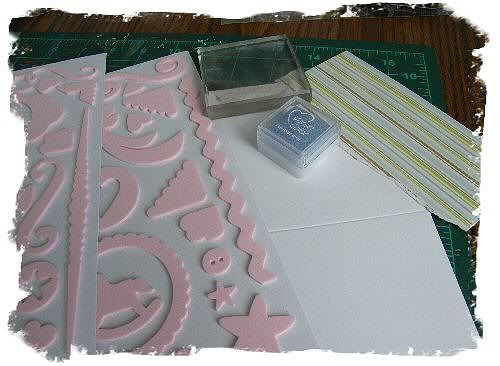
You've got a dilemma -- you need a baby boy card but your foam embellishments are PINK! What to do??!

Use your foam stickers as STAMPS!


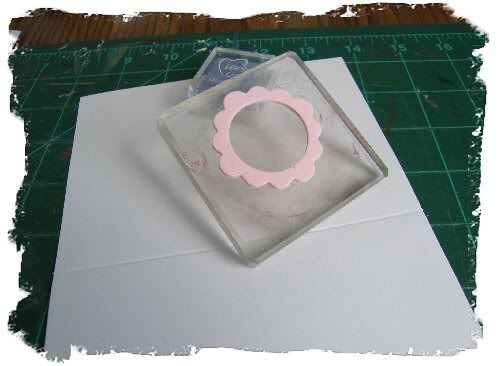
I put the embellishment on a piece of fabric first (just to take off some of the stickiness) then stuck it to my acrylic block.


Stamped the image on my card......


... then finished decorating it.


This tip won't work for alphas, but think of the possibilities with your other foam embellishments!

Thursday, August 20, 2009

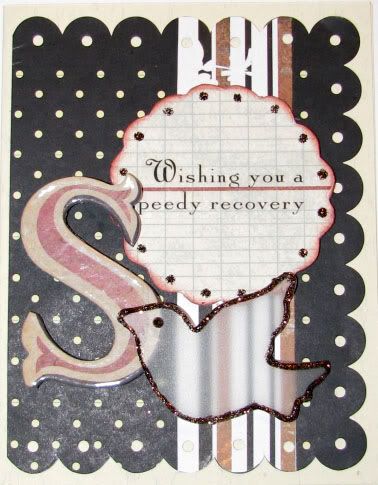
Large Outline Stamp Embellishment!!

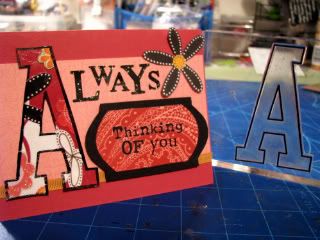
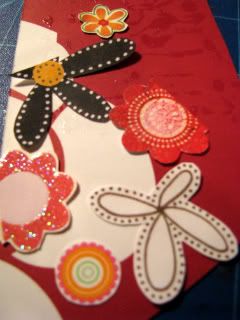
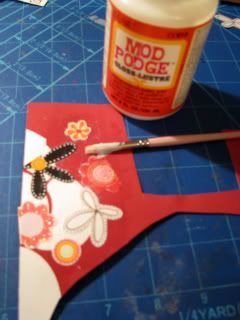
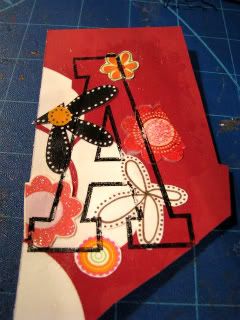
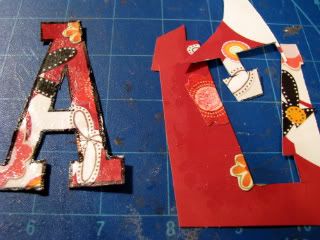
Put those stamps to good use!! This is just a cool new way to use up your paper scraps and create something useful. You will need: paper scraps, some card stock, ink and a large alphabit stamp.


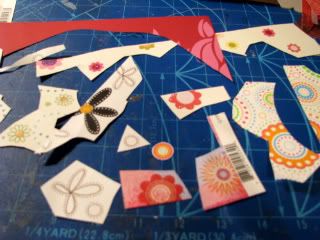
1. First choose an assortment of paper scraps.
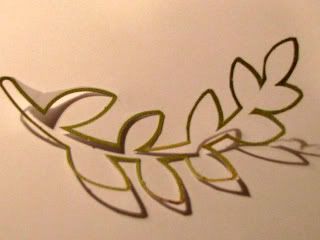


2. Cut and paste these onto some heavy cardstock.


3. Once your paper scraps are dry, apply a large alphabit stamp image over top of your paper scraps.


4. Cut out your image.

Wednesday, July 29, 2009


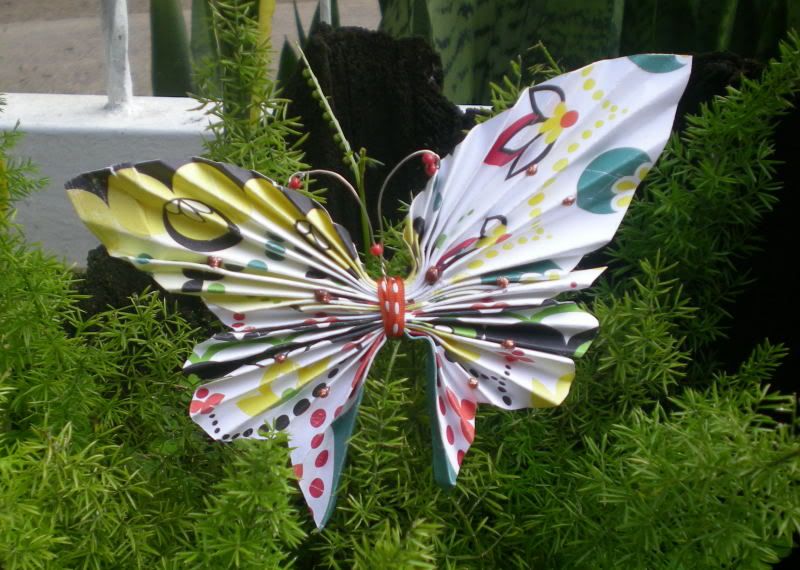
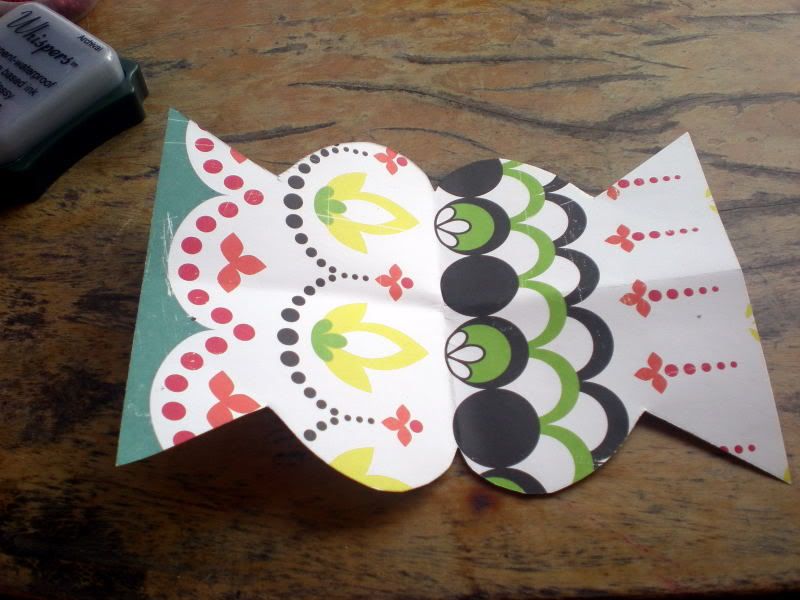
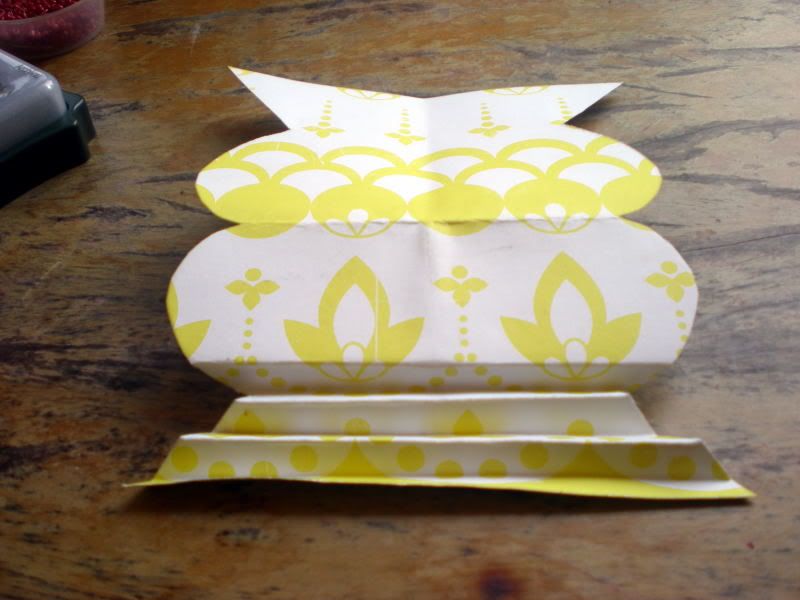
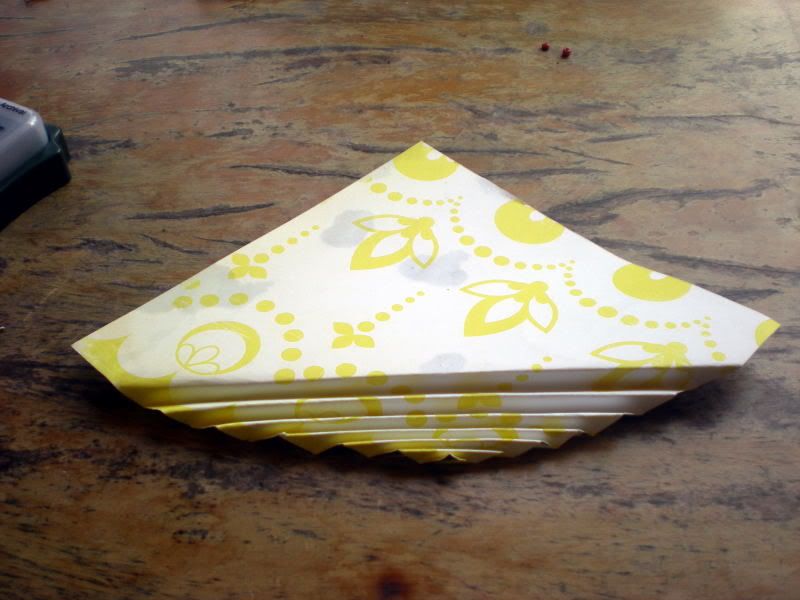
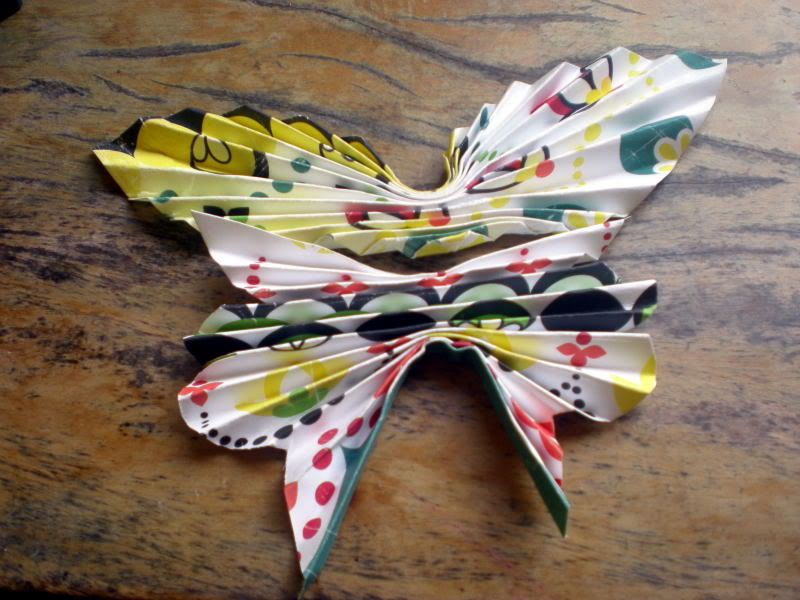
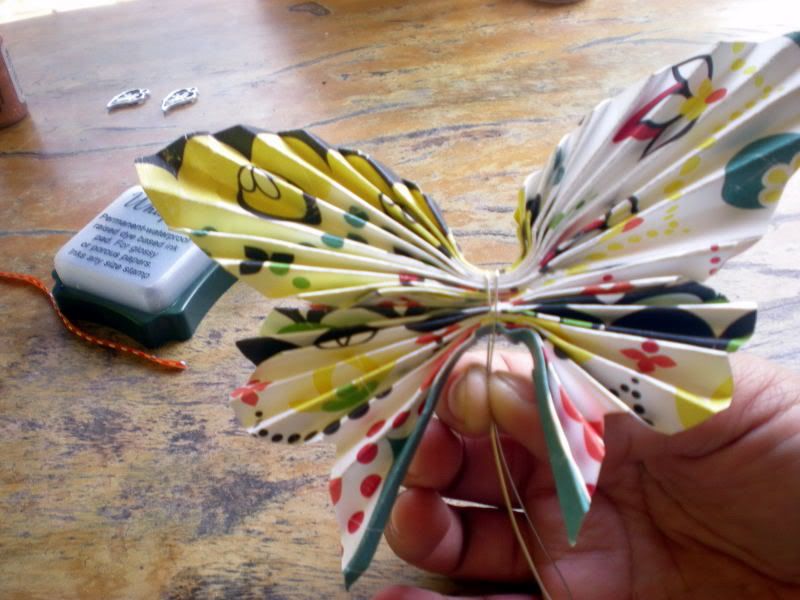
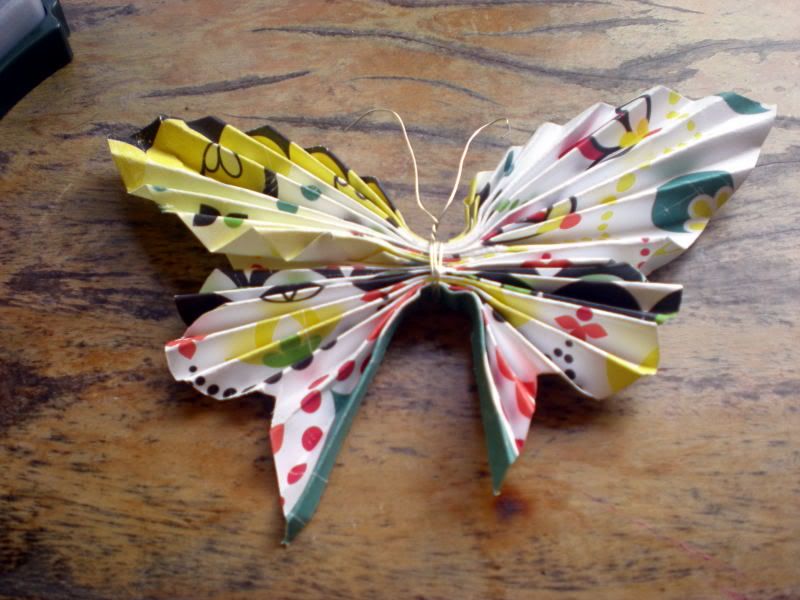
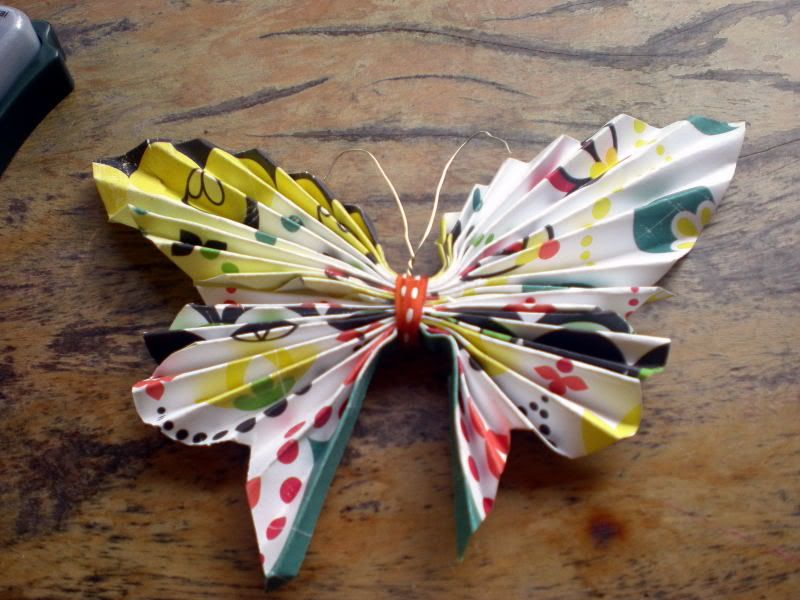
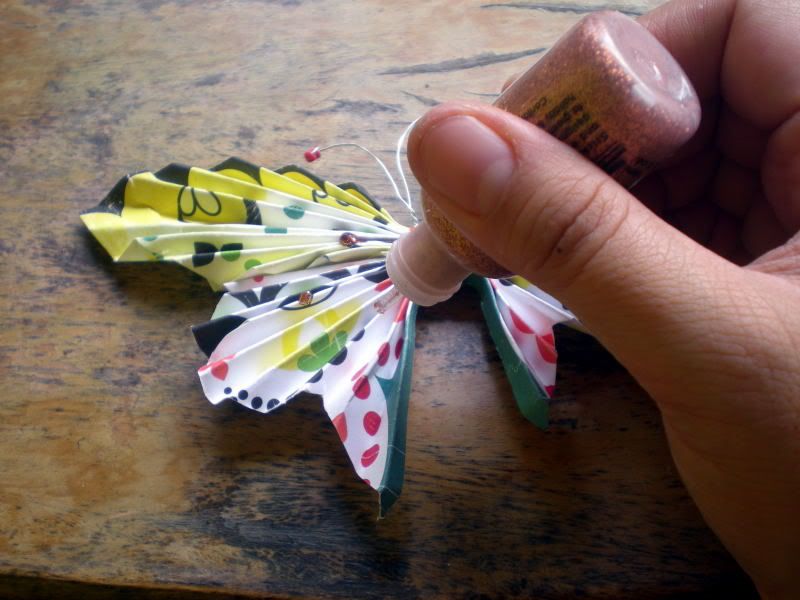
Here is a wonderful example of paper folding by Jonaks!! This gal is so inspiring why not check out the rest of her work in the gallery!! http://www.scrapbookheavenga.com/gallery2/showgallery.php?cat=599

To make your own butterfly follow these simple instructions!! Thanks Jonaks!!

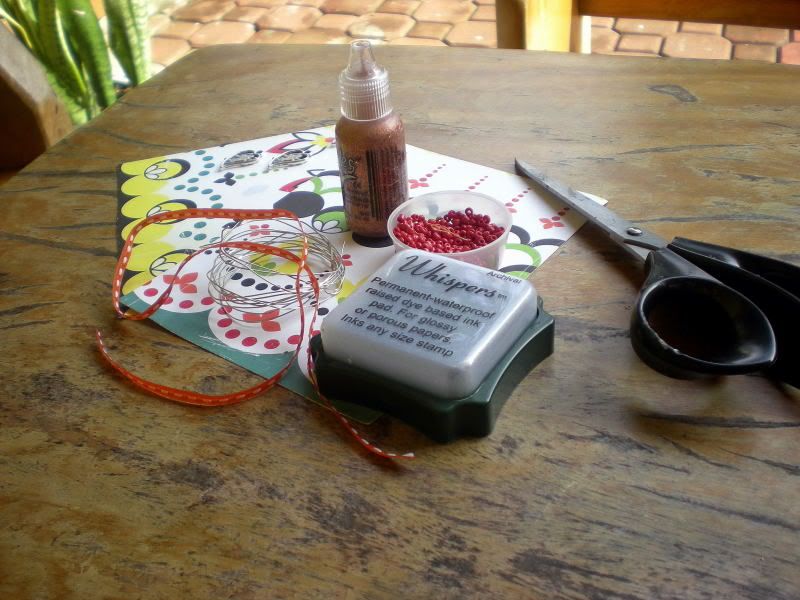
Butterfly Materials:
4 x 4” patterned paper
5 x 3” patterned paper
Craft wire
Beads
RibbonInk pad (optional)
Stickles (optional)


1.Ink the edges of both patterned paper, if you wish. (I forgot to do on mine)
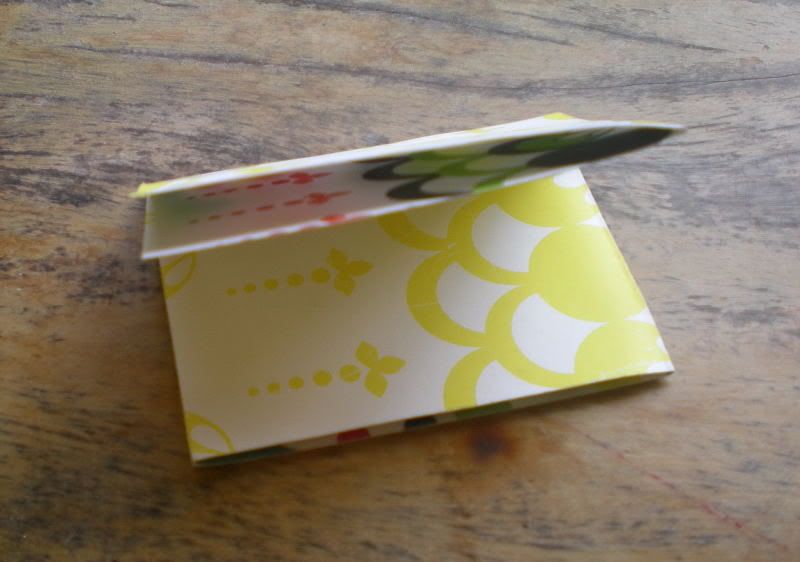
2. Fold in quarters the 5 x 3 patterned paper.


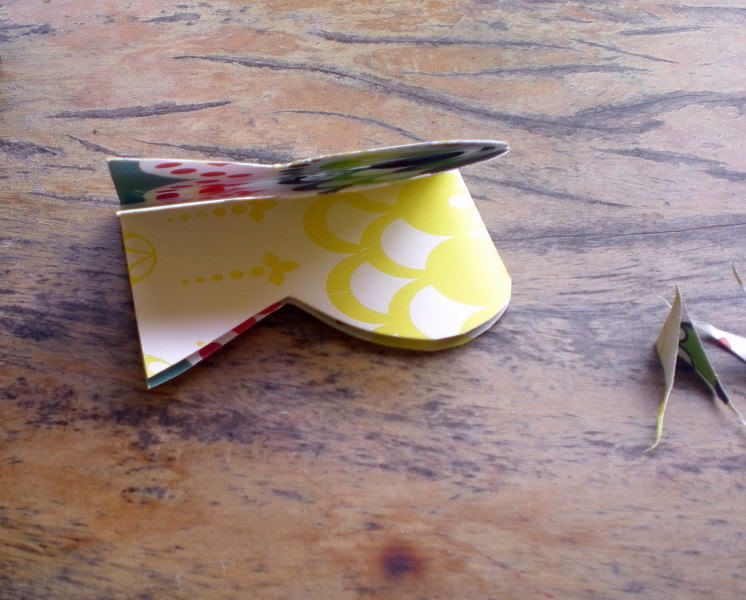
3. Cut a fish tail design. You can make the tail more pointing if you wish. Or you can freehand cut the design.


4. Fold in fan like manner the 5x3 patterned vertically.


5. Fold the 4 x 4 patterned paper in fan like manner diagonally.


6. Connect the two folded paper with the 4x4 pp on top and the 5 x3pp on the bottom. Using the craft wire bind them together leaving enough wire for the tentacles of the butterfly.


7. Cover with ribbon the craft wire.


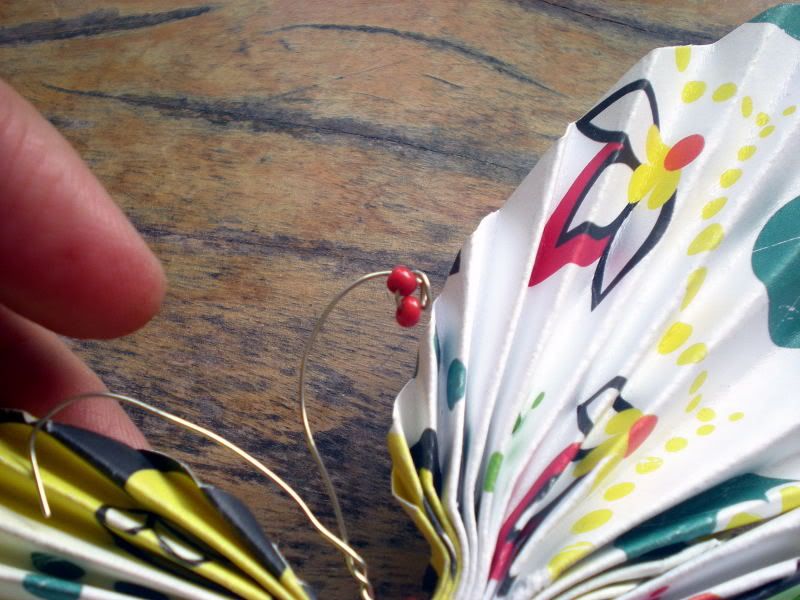
8. Use long nose in securing the beads in the butterfly.


9. Dot with stickles you butterfly, if you wish.


Your butterfly is now ready to be displayed or used in your lay-outs and cards. For smaller butterflies, use 2x2” and 3x2” pp. Perfect size for lay-outs!

Wednesday, July 15, 2009

Technique Thursday - By createalways

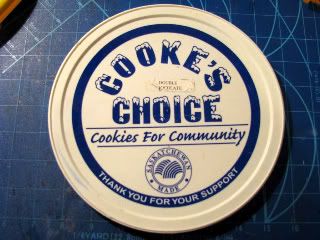
I just can't throw anything out and its a good thing to because for along time I struggled to find the perfect size circle. Well here's an idea I think you will find handy!

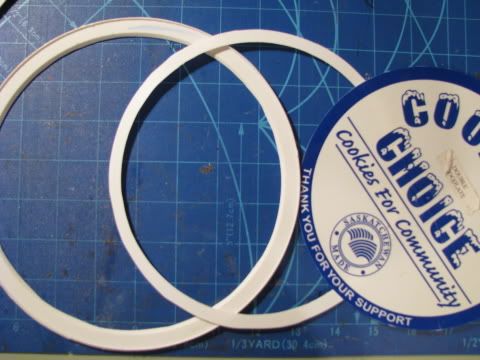
1. Take an old icecream lid and cut around the circle outline already on the lid use a sharp blade to do this and be VERY careful.


2. As you can see you can do this multiple times.
Making many different sizes.


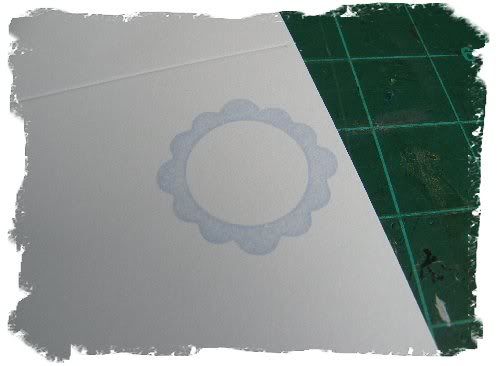
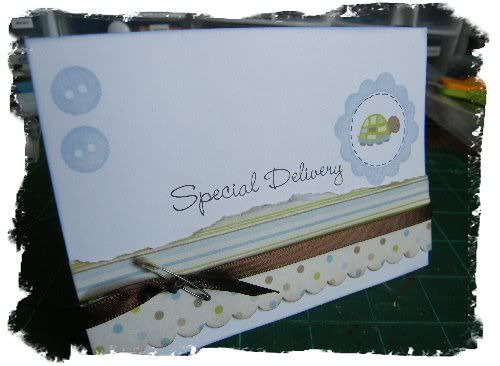
3. Why not kick it up a notch and make scalloped edges!

Thursday, July 9, 2009

Die-Cut Scrap Embellishment

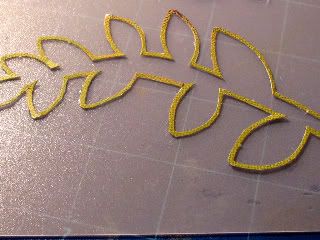
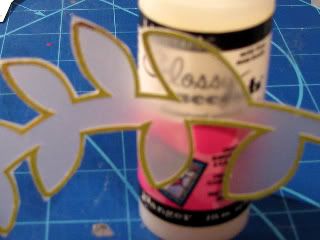
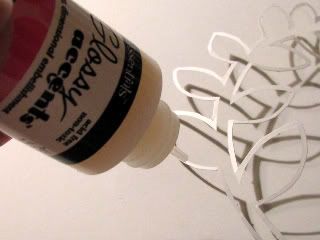
Ever wonder what to do with those scrap die-cut shapes? Well here is a fun way to get some extra mileage from your scraps. Make a new embellishment! Here's how to do it!

1. Cut around the outside edge of the image to be used.


2. Add adhesive to the back of the cut-out shape and adhere it to:
patterned paper, cardstock, or plastic.


3. then cut out your shape again and you now have a new embellishment.


The possibilities are endless, why not distress, alcohol ink or stickle your embellishment!!
I can't wait to see your creations.

Thursday, July 2, 2009

IT'S ALL ABOUT THE STARS!!
One of our newest DT's, Courtney shares
this wonderful example of how to make
these beautiful paper STARS!!
With July 4th just around the corner, why not make this on your next project!

This is one of my most favorite things to make. I think everyone will be shocked at how easy these lovely little stars are to make.
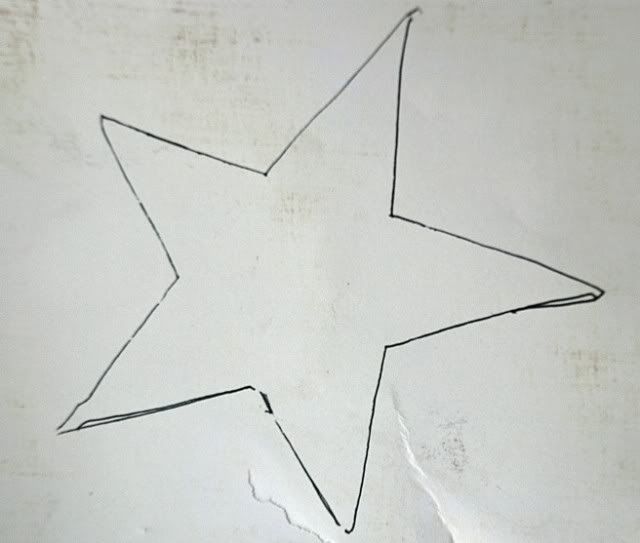
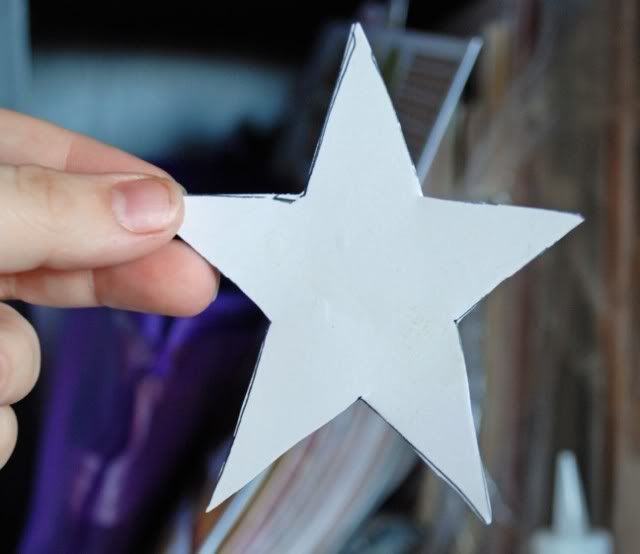
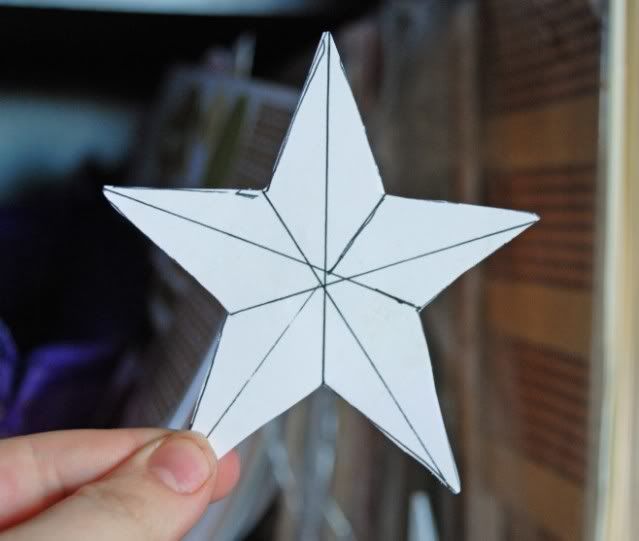
Trace or draw a star shape on a scrap or any desired paper. Here I've chosen white so that you all can see it better.

Next cut out the star.

Next grab a pen and a ruler or any straight edge and draw a line down the center of each arm all the way down.

Now we take our star and fold along each crease leaving the marks on the inside of your crease so that they will be on the back side of your star.

Next is the most fun and final step, ink each of your creases and edges and Viola you have an awesome barn style star! So easy!