Saturday, January 1, 2011

January Kit Reveals

Happy New Year!

January is here and the new kits are in the store.  Kick off your creativity this year with a kit from Scrapbook Heaven.


Take a look at all the Design Team created with this kit:

Lee's Elite Reveal:
Image

Image

Image

Image

Image

Image

Michelle's Elite Reveal:
Image

Image

Image

Carla's Petite Reveal:
Image

Image

Image

Jules' Petite Reveal:
Image

Image

Image

Image

Image

Image

Image

Image

Image

Wednesday, December 29, 2010

50% off Sale!


'Tis the season of giving and we at Scrapbook Heaven would like to give you 

50% off

everything in The Store.  
From now until Friday, December 31st, 
please shop with coupon code Christmas .

Wishing you a joy-filled New Year!

Monday, December 20, 2010

Creative C.H.R.I.S.T.M.A.S.: S: Simple Sketch

Okay..this is it!

CHRISTMAS brought to you by the final letter 'S'....and even though it is the last it is packed full of possibilities!

I couldn't decide....so many 's' possibilities...so little time!

So...here is what I came up with....sketch, same supplies, scraps, simple, single photo, stash (use up some old!)....

Use the SKETCH, a SINGLE PHOTO, OR SAME SUPPLIES (on both a layout and a card, must show both if you do same supplies)....
Just have FUN AND SCRAP SOMETHING!

Here is the sketch...

Image

Here is the layout I did with that sketch where I used a single photo, kept it simple and used up some of my old stash (that snowman and snowflake I've had for a few years!)

Image

Then I didn't want to stop there.....I wanted to show how you could use the sketch to make a card....and of course I had to use the 'S'ame supplies which were also my 'S'craps!

Image

So...it is YOUR CHOICE! You can do a combo of them, you can do only one....

Here is the layout and card together!
Image

Friday, December 17, 2010

Creative C.H.R.I.S.T.M.A.S.: A: Advertisement Inspirations

During this time of the year, we are flooded from every which direction with advertisements. Ads can be a great source of inspiration. Designers and artists get paid the big bucks to come up with eye-catching layouts that we can then adapt for use on our scrapbook pages.

Here's an add that landed in my inbox from Anthropologie (my favorite store to visit):

Image

And here's my layout inspired by the ad:
Image

I loved the clean and simple design and the white background. I also loved the way the photos in the ad were cropped at slightly skewed angles. I also edited my photos to b&w with color on the focal points in each (this helped get rid of some of the distracting backgrounds in my pics, too).

For your challenge, create a LO inspired by an advertisement. Simple!

All projects are due at noon on December 22nd to be eligible for prizes.

Wednesday, December 15, 2010

Creative C.H.R.I.S.T.M.A.S.: M: Masking

My challenge today is all about the letter "M" -- for masking! Love this technique, especially when I can use my Smooch Spritz :-)

Image

I used some old Thickers (snowflakes) that I had -- they were silver in color, and not ones I normally would use, so..... I used them as a mask. Layed them on my card, and then spritzed with ink.

The pp I used was Joyride. Such a cute paper line! The chipboard piece was from the $$ store. I think this is one of my favorite cards I've done this Christmas.

So, your challenge is to use masking on a card.

All projects are due at noon on December 22nd to be eligible for prizes.

Monday, December 13, 2010

Creative C.H.R.I.S.T.M.A.S.: T: Tree

"OH Christmas Tree oh Christmas Tree"
Can you imagine a holiday crop without a "T"ree?? Me either. As much as I'd like to take credit for this one I can't. I'm not sure exactly where I saw this, but I will tell you the one I saw was all white and tall and skinny and beautiful. I hope you like it.

Image

This could be used for a table display with some candy around it or as a hanging ornament.

Directions for PINWHEEL TREE

1. Cut as many "squares" as you desire (but a minimum of seven) out of double sided pp. I started with a 2" square. A little large for an ornament, perfect to place in a flat bowl with candy.
Image
2. Fold squares in half and then half again. Cut each fold on fold line but NOT all the way to the center.
Image
Image
Image
3. Cut a piece of embroidery thread about 12" long and place a bell on the thread. fold the thread in half and put both ends thru a needle.
Image
4. Add the largest pinwheel FIRST by piercing the needle thru the center of the pinwheel from the bottom. Put your needle thru each pinwheel section and continue to string your pinwheels onto your thread.
Image
5. When you have all your pinwheels in place, you can knot your thread to secure the pinwheels, but keep the string on for hanging. Tie a knot at the end of your string.

Friday, December 10, 2010

Creative C.H.R.I.S.T.M.A.S.: S: Serendipity Shapes

For your challenge today, we're going back in time. If you have been scrapping for more than a few years, you probably remember serendipity squares. It's a very simple decoupage technique that adds a lot of texture to your project. We're going to revisit that technique with a bit of a twist. We're going to make "S"erendipity "S"hapes!

Image


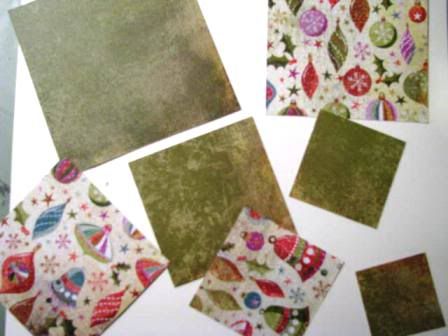
To begin, gather "s"craps of "s"even coordinating papers. I used a fairly monochromatic assortment, but a mixture of colors could work, too, depending on the embellishment you are making. You also need a piece of chipboard, grunge paper, or very heavy cardstock. The size depends on how large your embellishemnt will be.

Image


Tear the scraps into small pieces. Mine were around one inch. Using Modge Podge or other adhesive, glue the scraps to the chipboard randomly, overlapping the edges. Allow to dry if you used a wet adhesive. At this point, I painted my piece with iridescent medium to give it a little shimmer. You could use Perfect Pearls, too, or just skip this step. Allow to dry. Next, I randomly stamped several swirl shapes on my piece and embossed with a white and glitter embossing powder. I totally forgot to take pictures during the process, but here is a picture of my leftover piece of "s"erendipity paper.

Image


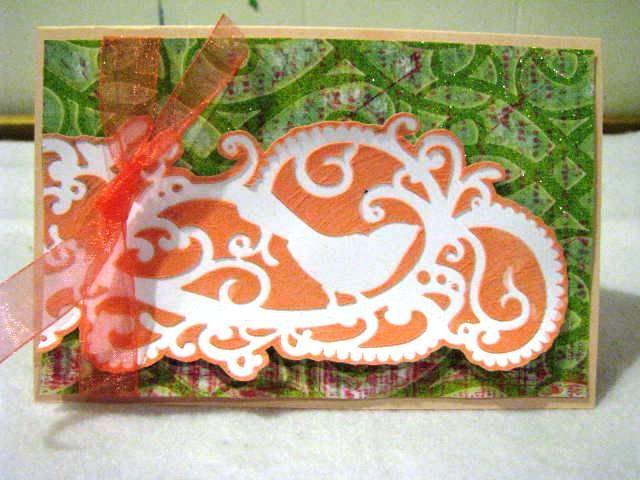
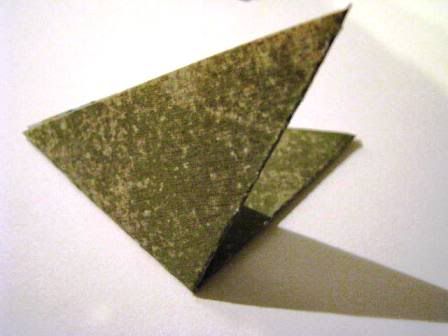
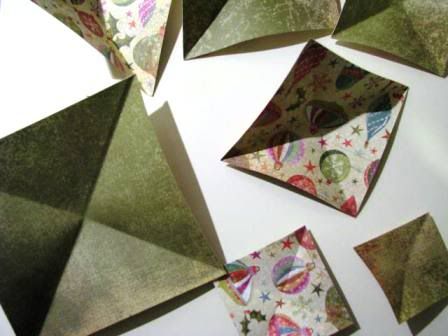
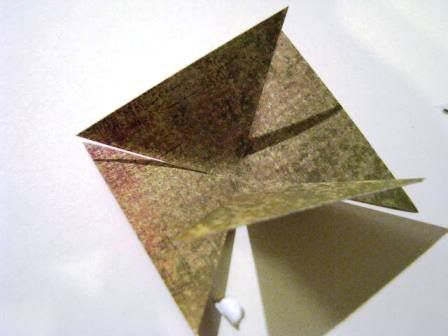
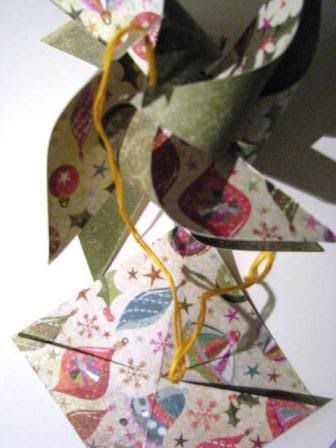
Now you simply cut your shape out of your paper and embellish as desired. I am absolutely terrible at drawing, so to make the pattern for my tree, I scanned an actual stamp and then enlarged it to the size I wanted! I cut my tree apart and then randomly traced the pieces on the back of my "s"erendipity paper. Cut out, reassemble, and embellish!

Image

Image


Have fun! For a few more "S" challenges, how about "s"ewing on your layout or using a "s"wirl? And then make a card from your "s"craps!

All projects are due at noon on December 22nd to be eligible for prizes.