Tutorial by Courtney - Scrapbook Heaven DT
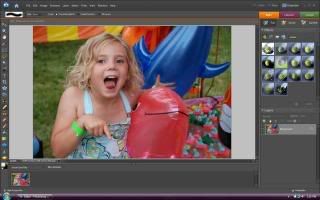
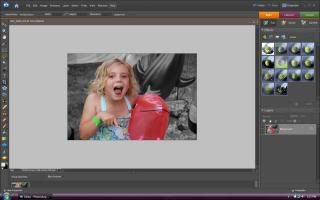
In this tutorial I will teach you step by step how to keep part of your photo colored while turning the rest of it black and white. This technique is perfect for bringing attention to a certain part of a photo or for making a photo appear less busy.I have used photoshop elements 6 but most of the steps are basics for most software.First of all open your desired image.Ive chosen a picture of my daughter at a fair and there were just WAY too many things going on in the background!
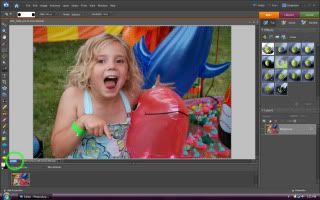
 Then on the left hand column click on the "Brush Selection Tool"
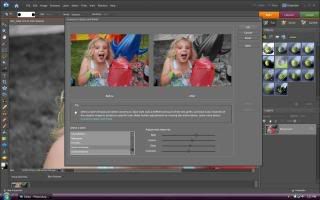
Select most of your background or most of what you want to turn black and white. Everything selected will have a dotted outline. Hard to see in this snapshot.

Next you want to zoom your image so that you can get all of the small details with your "Brush Selection Tool" by clicking in the lower left hand corner and highlighting the percentage viewed and raise that value.


2 comments:
Great tutorial, Courtney!
I love the look of selective coloring! Great tutorial!
Post a Comment