
Our card crop is underway, and we are thrilled to have so many people participating! Come and join us here.
Here's the first group of cards and tutorials:
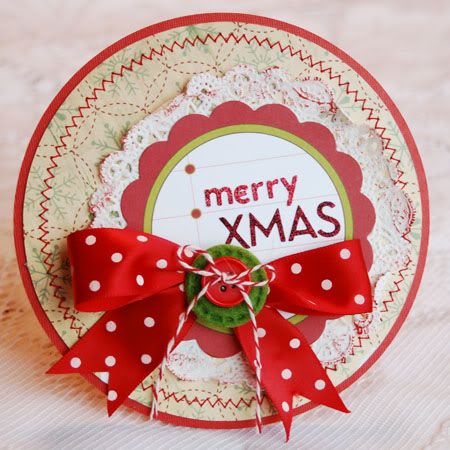
Carla's 1st Card:
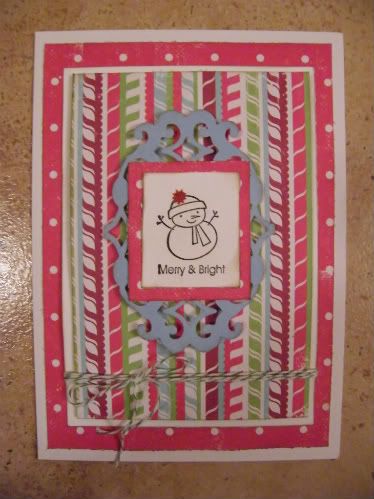
I used a 5x7 card base for this one.
The red dot pp is 6 3/4 by 4 3/4. Then the white base is 5 3/4 by 4 inches. I popped the striped paper (5 1/4 x 3 3/4) using foam dots.
The lace paper is also popped with foam dots -- I basically cut around a design on the paper. I love all the dimension on this card
I stamped a snowman on some white cardstock (1 3/4 x 1 1/2) and matted it on more of the red dotted paper. Added a red "pompom" rubon. You could also use Stickles for this.
Tie some of the baker's twine around the card, and finish with a bow. LOVE this stuff!
Jule's 1st Card
Ruffled edges are not just done with lace!

Lee's 1st Card:I cut a lot of my card bases using 8.5 x 11 cardstock but I cut it LENGTHWISE....I just like the look.
Cut card base, fold.
From patterned paper #1 cut 4 x 3.5 piece. Ink edges, adhere to top of card. From coordinating patterned paper cut 3 1" strips. Fold each strip to create 'ruffles' (I only used about 9" of the paper!) Starting with bottom ruffle staple 1st ruffle in place, 2nd on top of that and finally the 3rd ruffle. Wrap with ribbon and affix bow to hide staples!
Add sentiment and there ya go! A quick and easy card!
Add sentiment and there ya go! A quick and easy card!
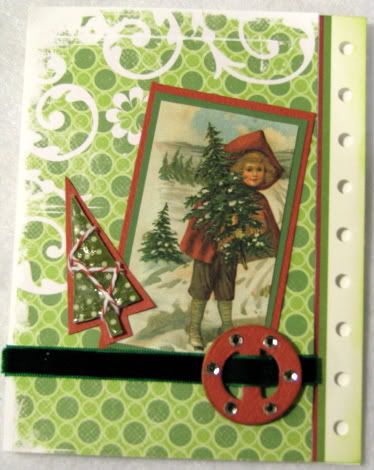
Instructions:
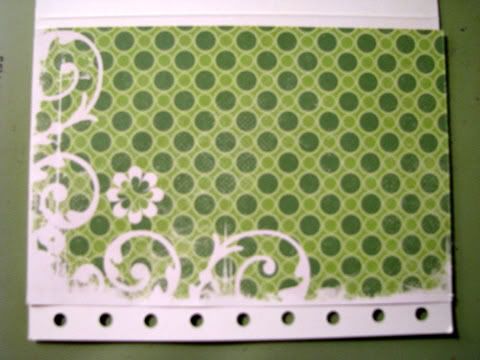
1. Cut a piece of patterned paper the full size of the card face.
5 1/2" X 3 1/2".
2. Attach a ribbon across the lower part of the patterned paper you cut in step 1.
3. Attach patterned paper to card front.
4. Ink edge of card border.
5. Double mat one of the oblong holiday images and place on an angle on the card.
6. Attach a tree diecut image or image to suit.
Pump it up!
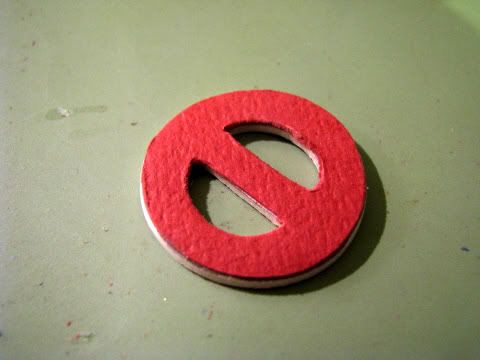
1. Glue coordinating cardstock to a chipboard buckle (not included in kit), sand and ink edges of buckle. Insert ribbon and attach to card.
2. Mount tree image to chipboard, Apply glossy accents and ribbon to the tree, mount on coordinating cardstock.
3. Add a word saying.
Michelle's 1st Card:
Here's a fun little card that looks more complicated than it is:

You need:
3 pieces of cardstock:
front: 8 1/2" x 3"; scored at 2" from each end
middle: 6 1/2" x 3"; scored at 1" from each end
back: same as front
1) Punch or cut out a window in the front and middle sections. I used a 1 3/8" circle on the front punched three times; and a 1 1/4" circle on the middle.
2) Stamp on back piece in area that will show up in window.
3) Embellish the front and middle sections as desired.
4) Assemble like this:
Heather's Card Sketch:
Here's my first card sketch!

and the example
All projects are due on Saturday, November 27th, 9PM cst.
***PLEASE NOTE***
You don't have to copy the card tutorials as outlined. Please feel free to use what you have available at home to make a card using the ideas shown in each tutorial.
***PLEASE NOTE***
You don't have to copy the card tutorials as outlined. Please feel free to use what you have available at home to make a card using the ideas shown in each tutorial.


0 comments:
Post a Comment