Carla's 3rd Card:

This card is 5x7.
Pretty simple card that is easy to make. The pp is 6 3/4 x 4 3/4.
Embellishments are the rectangle image and a couple of flowers. I added 2 leaves under the flowers and put some stickles around the edges. Three little beads finished off the flower.
The rub-on sentiments that came with this kit are excellent for cards!
Jules' 3rd Card:
Keeping it simple.....


Layers...I like layers!
I used one of the bases that were in the kit for the card base!
Cut strip of black cardstock 2x 5.5, red patterned paper 1.75 x 5.25, white cardstock 1.5 x 3.75, 3 1.25 x 1.25 squares from black cardstock and 3 1x1 squares from coordinating patterned paper.
Ink edges, assemble as shown, use pop dots for 3 small squares to add dimension. Stamp sentiment, add bow with ribbon from kit!
Lee's 3rd Card:

Instructions
1. Cut a piece of patterned paper 5 1/2" X 3 1/2".
2. Lightly tac down the patterned paper to the card face and punch a circle in the bottom right hand corner of the card and patterned paper at the same time.
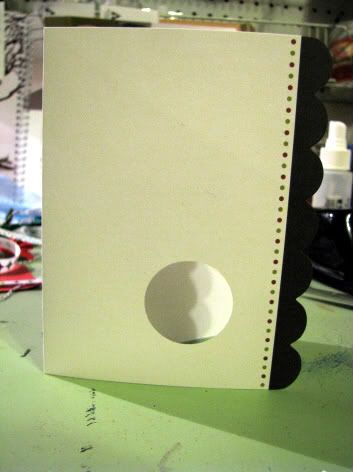
3. Remove patterned paper and attach a ribbon to the left edge of the patterned paper.
4. Attach patterned paper to your card.
5. Cut a circle from circle patterned paper and punch a hole directly in the middle of the circle. Attach the cut out circle to the punched our circle on the card.
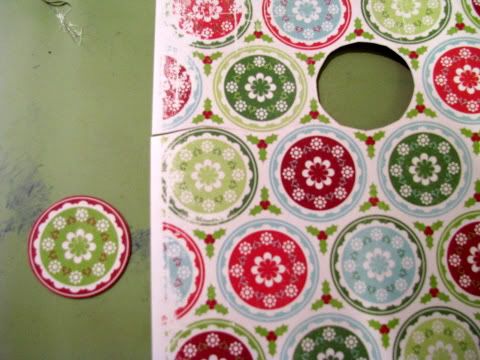
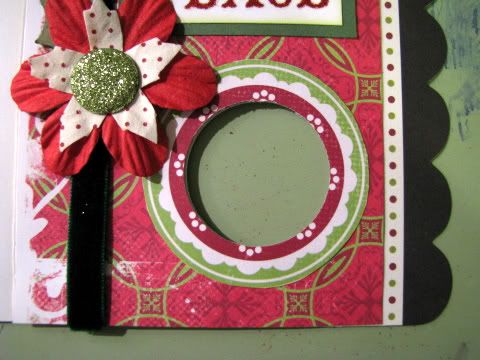
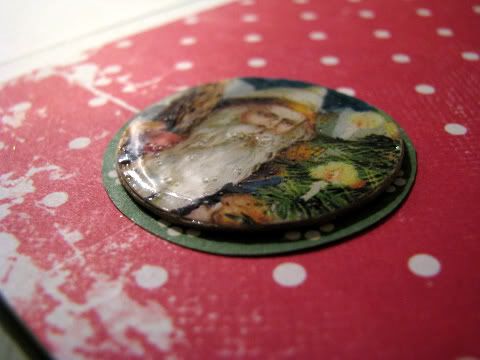
6. Cut a Santa circle and mount on cardstock circle. Place behind the cut out circle card front.
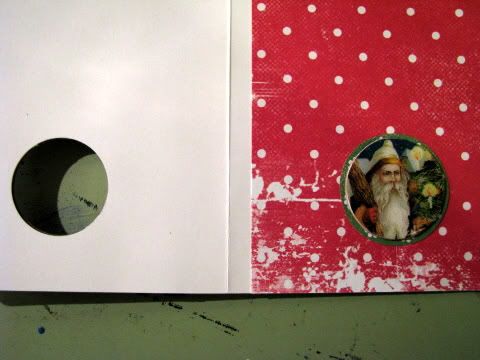
7. Add flowers.
8. Add a word rub-on to white cardstock, ink edges and mount to a coordinating piece of cardstock. Attach to card front.
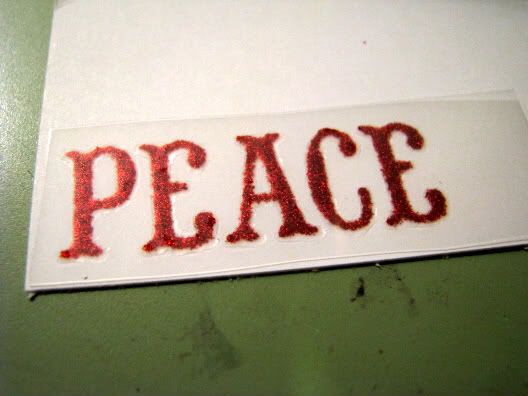
9. Attach matted patterned papers to card front.
Pump it UP!
1. Add glossy accents to the Santa circle.
Michelle's 3rd Card:
This little card is an oldie but goodie. Used this style for my youngest's birth announcement 5 years ago. They whip up faster than you think and pack an impressive punch!

1) Cut cardstock base: 4 1/4" x 5 1/2"
2) Cut patterned mat: 4" x 5 1/4" and adhere to base
3) Cut holder strip 1" x 4 1/4". Do not adhere, attach with eyelets, brads, staples at top and bottom.
4) Cut pull tab piece: 8 1/2" x 1 3/4" and score at: 4 3/4", 5 3/4", 6 3/4"

5) Cut 3 squares for accents: 2" and mat with 2 1/4"
6) Place adhesive on the boxes created by the scores in step 4 and apply the accent blocks by lining up the left side of the square with the fold on the pull tab.

7) Feed the back of the accented tab piece under the holder strip and adhere the larger of the three scored blocks to the top of the holder strip to secure.

8.) Embellish and add a ribbon or tab to the pull strip.
All projects are due on Saturday, November 27th, 9PM cst.
***PLEASE NOTE***
You don't have to copy the card tutorials as outlined. Please feel free to use what you have available at home to make a card using the ideas shown in each tutorial.

1) Cut cardstock base: 4 1/4" x 5 1/2"
2) Cut patterned mat: 4" x 5 1/4" and adhere to base
3) Cut holder strip 1" x 4 1/4". Do not adhere, attach with eyelets, brads, staples at top and bottom.
4) Cut pull tab piece: 8 1/2" x 1 3/4" and score at: 4 3/4", 5 3/4", 6 3/4"

5) Cut 3 squares for accents: 2" and mat with 2 1/4"
6) Place adhesive on the boxes created by the scores in step 4 and apply the accent blocks by lining up the left side of the square with the fold on the pull tab.

7) Feed the back of the accented tab piece under the holder strip and adhere the larger of the three scored blocks to the top of the holder strip to secure.

8.) Embellish and add a ribbon or tab to the pull strip.
All projects are due on Saturday, November 27th, 9PM cst.
***PLEASE NOTE***
You don't have to copy the card tutorials as outlined. Please feel free to use what you have available at home to make a card using the ideas shown in each tutorial.


0 comments:
Post a Comment