
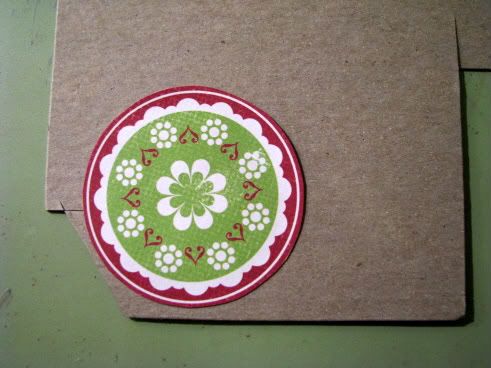
Carla's 2nd Card:
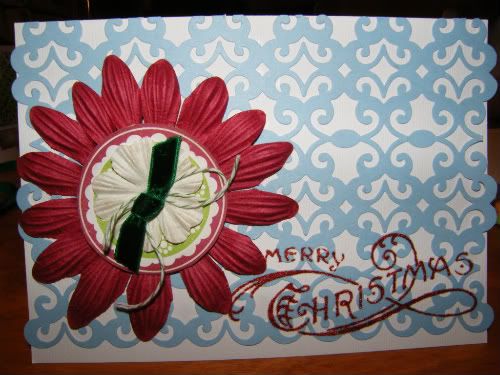
Here is another card using the lace pp. I think the blue is avery pretty Christmas color
Again, it's on a 5x7 card base. I trimmed the lace pp to fit. It does overlap a small bit on both side edges.
Added the big flower and layered it with a cut out from the circle patterned paper, a plain flower, a ribbon knot and a baker's twine bow. Lots of layers!
I added a rub-on sentiment.
Jules' 2nd Card:
Punch it up and make it work!

This was so fun!
Card is 4.25 x 5.5
Cut the base from double sided patterned paper.
Fold over and cut an 'arch' to create place to add flower.
With coordinating patterned paper use a flower punch. Punch 2 of same flower, 'curl' flower edges by pressing on each petal.
With green scrap cardstock cut stem and leaf, dry emboss leaf to create the look of a leaf. Adhere green stem to edge of card, top with flower, use brad to keep flower in place.
Embellish with bling and use rubon for card sentiment.
Lee's 2nd Card:
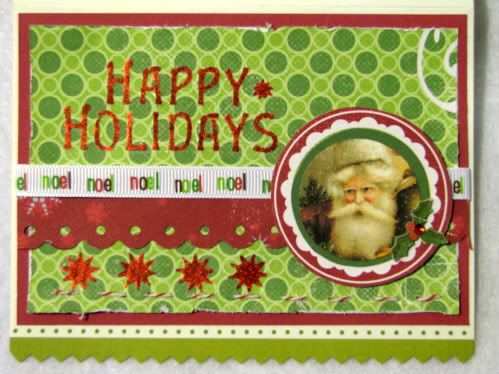
Instructions:
1. Cut a piece of cardstock that measures 5 2/8" X 3 5/8".
2. Cut a piece of patterned paper that measures 3 3/8" x 5". Distress the edges of the patterned paper.
3. Punch a border strip with curvy punch appox. 1 inch wide.
4. Attach the patterned paper to the cardstock and then the border to the middle of the mat you just made.
5. Attach ribbon to the top edge of the curved border and adhere your card front to the face of your card.
6. Cut out a Santa image and mount it to a "circle" cut out of coordinating cardstock.
7. Cut a circle from the patterned paper supplied. Mount the circle image in step 6 to a patterned paper circle. And attach to your card. Embellish.
8. Apply rub-on word sayings.
Pump it up!
1. Mount the patterned paper circle to chipboard.
2. Glossy accent the santa image.
3. Sew a border of thread along bottom of card.
Michelle's 2nd Card:
I found the idea for this card online and just fell in love with it. I'll warn you, it took me two tries to get this one right, so you may want to test it out on scrap paper first. (But, then, you all probly have more smarts than me and will get it on the first try!)

1) Cut a piece of cardstock to 8 1/2" x 5 1/2"
2) Score across at 4 1/4" (like you would for a traditional card)
3) Holding paper vertically, make a cut 2" from left side starting at 2 1/8" from top and running until 1" from bottom.
4) Score from right side to cut made in step 3, working from bottom up at: 1", 2", 3 1/8", (4 1/4" score is already there from step 1) and 6 3/8".
5) Fold the 2" wide left fold as a mountain, the 3 1/2" portion at the 4 1/4" as a valley. Alternate remaining scores as mountain and valley to create the "stairs".

6) Take a deep breath because you made it through the hard part and have fun embellishing your card!
All projects are due on Saturday, November 27th, 9PM cst.
***PLEASE NOTE***
You don't have to copy the card tutorials as outlined. Please feel free to use what you have available at home to make a card using the ideas shown in each tutorial.
***PLEASE NOTE***
You don't have to copy the card tutorials as outlined. Please feel free to use what you have available at home to make a card using the ideas shown in each tutorial.


0 comments:
Post a Comment