
Carla's 4th Card:
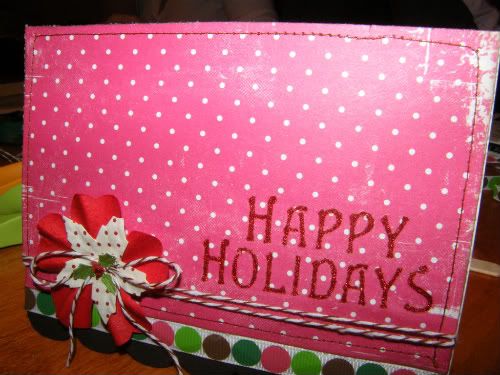
For this card, I used one the card bases that came with the kit. It measures 5 1/2 x 4 1/2.
I cut a piece of the red pp 3 1/2 x 5 1/2. I stitched it around on my sewing machine. I used the baker's twine and did a couple loops around the red pp. Then, adhered to my card base. Just below the red pp, I added a strip of ribbon.
Finished this one off with a rub-on sentiment and a layered flower.
Jules' 4th Card:
Fold it over...stand it up!

Inside...

The base for this one is 5.5 x 10.75. Finished card is still 4.25 x 5.5.
Score cardstock at 4" from one end and 2.5 from the other. Fold in leaving shorter end for the outside of card. (see picture!)
Using coordinating patterned paper and scrap coordinating cardstock place paper on card base. For some added texture I dry embossed the solid cardstock.
I used a spellbinder to cut the 'oval' on the front of the card but you could use anything! I've seen these done with circles, squares...etc. Add a brad to the inside so the card will 'catch' and stand! Add sentiments as you like!
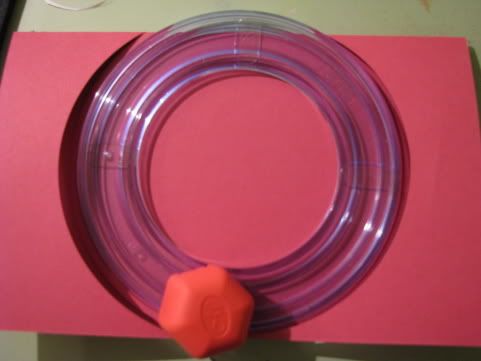
Lee's 4th Card:

Instructions
1. Fold and 8 1/2" X 11' piece of cardstock in half.
2. Using a circle template (or cutting system) cut a circle about 5" in diameter, DO NOT CUT THE TOP FOLD OF YOUR CARD.
3. Cut another circle out of cardstock 1/4' smaller than the card you made in step 2.
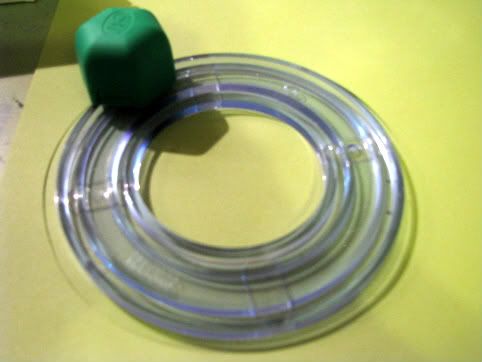
4. Cut another circle from patterned paper 1/4" smaller than the circle you cut in step 3.
5. Cut the top edge of both the patterned paper and cardstock so that they will both have about a 1/4' edge.

6. Sew patterned paper and cardstock together if desired.
7. Attach ribbon the the left edge of your patterned paper mat.
8. Attach flowers to ribbon.
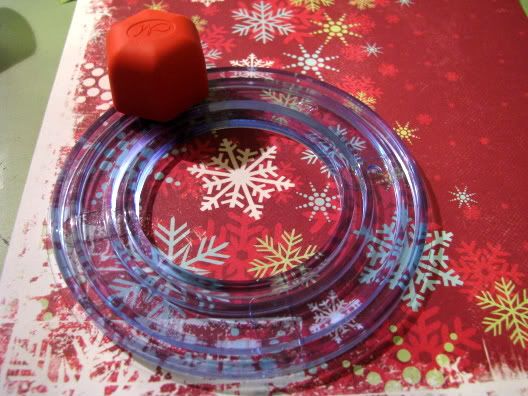
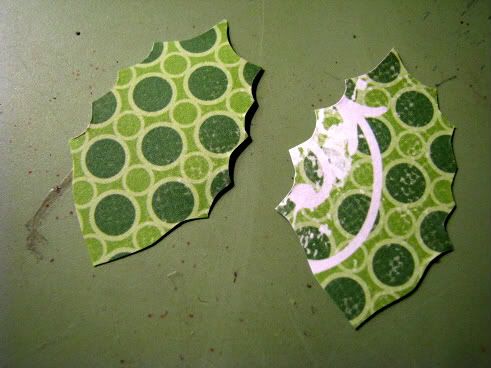
9. Make leaves for your flower by tracing a leaf image onto patterned paper. Cut out.
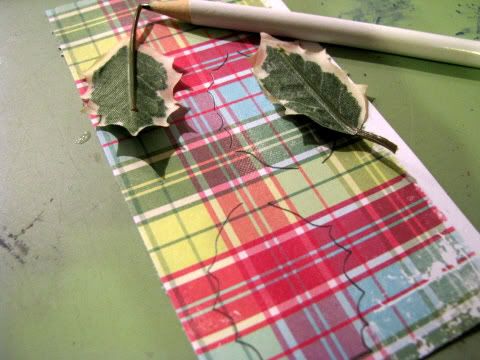
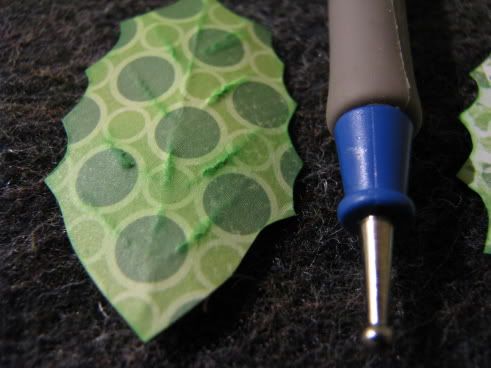
10. Emboss the leaf and ink edges. Attach behind flower.
11. Attach a rub-on to a piece of patterned paper.
12. Cut around word saying rub-on.
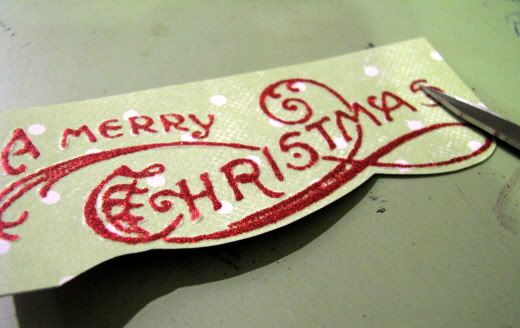
13. Mount the word saying onto cardstock and cut out again.
Attach word saying to card front, bottom edge. Apply bling (not included).
14. Attach matted circle to card front.
Michelle's 4th Card:
This cute little card whips up quickly, and the inside has plenty of room for a photo and a greeting.

1) Cut cardstock base 10 1/2" x 3 1/2"
2) Score at 3 1/2" and 7" and on the diagonals as shown:

3) Cut patterned paper 3 1/4" square and along diagonal.
4) Fold and adhere triangles from step 3 as shown:

5) Embellish as desired. Use ribbon to tie closed, or use a decorative clip as I did in my sample.
All projects are due on Saturday, November 27th, 9PM cst.
***PLEASE NOTE***
You don't have to copy the card tutorials as outlined. Please feel free to use what you have available at home to make a card using the ideas shown in each tutorial.
1) Cut cardstock base 10 1/2" x 3 1/2"
2) Score at 3 1/2" and 7" and on the diagonals as shown:
3) Cut patterned paper 3 1/4" square and along diagonal.
4) Fold and adhere triangles from step 3 as shown:
5) Embellish as desired. Use ribbon to tie closed, or use a decorative clip as I did in my sample.
All projects are due on Saturday, November 27th, 9PM cst.
***PLEASE NOTE***
You don't have to copy the card tutorials as outlined. Please feel free to use what you have available at home to make a card using the ideas shown in each tutorial.


0 comments:
Post a Comment